By Tiffany Walker
Natural black hair is no more difficult to style than any other hair texture—it just requires the right products and techniques. You must know how to enhance your curls and embrace them, rather than fight them off. Once you develop a hair care routine to care for your coily hair, you’ll find there’s nothing easier than rocking your natural texture. One great way to embrace it? Try out a head of springy coils!
In this short guide, we’ll go over our favorite tips and tricks for how to coil natural Black hair.
Get to Know Your Hair Texture
Finger coils work best on healthy, moisturized hair. If you’re transitioning between relaxed and natural hair, this might not work for you yet. Instead, focus on nourishing your hair with products suitable for your texture.
If you’re new to the world of natural hair care and styles, here’s a quick briefer on getting to know your natural texture:
- Your hair’s unique curly shape determines which products are best for you. Check out our guide on different types of natural hair to find out if you’re a 3c with curly, coily hair or a 4b with coils for days! Then, shop for Type 3 or Type 4 hair products for your curl type.
- Your hair’s porosity should also play a role in product selection. To find out how porous your hair is, perform a float test: place a piece of your (clean) hair in a glass of water. If it floats, it’s low porosity and doesn’t absorb much moisture. If it sinks, it’s high porosity. If it lingers in the middle, it’s somewhere in-between. You can also shop by porosity.
In this guide, we’ll give instructions focusing on Type 4 products that provide plenty of moisture and help define curls. However, you can always make adjustments based on your textured hair and favorite products! After you test a few, you’ll find the best products for 4c hair that work best for you!
No matter your specific hair texture, there’s one thing all hair has in common—it thrives when you use an organic, natural hair product that is free from damaging chemicals and sulfates that can dry out and damage your hair. So, whatever natural hair products you choose, make sure they’re organic and sulfate-free.
Once you’re ready with products that provide ample hydration and shine, it’s time to learn how to coil your natural hair!
Wash and Condition Your Hair
Before you start coiling your locks, wash and condition your hair to get it in prime shape for styling.
- Section your hair before washing or prepare your hair for freeform washing
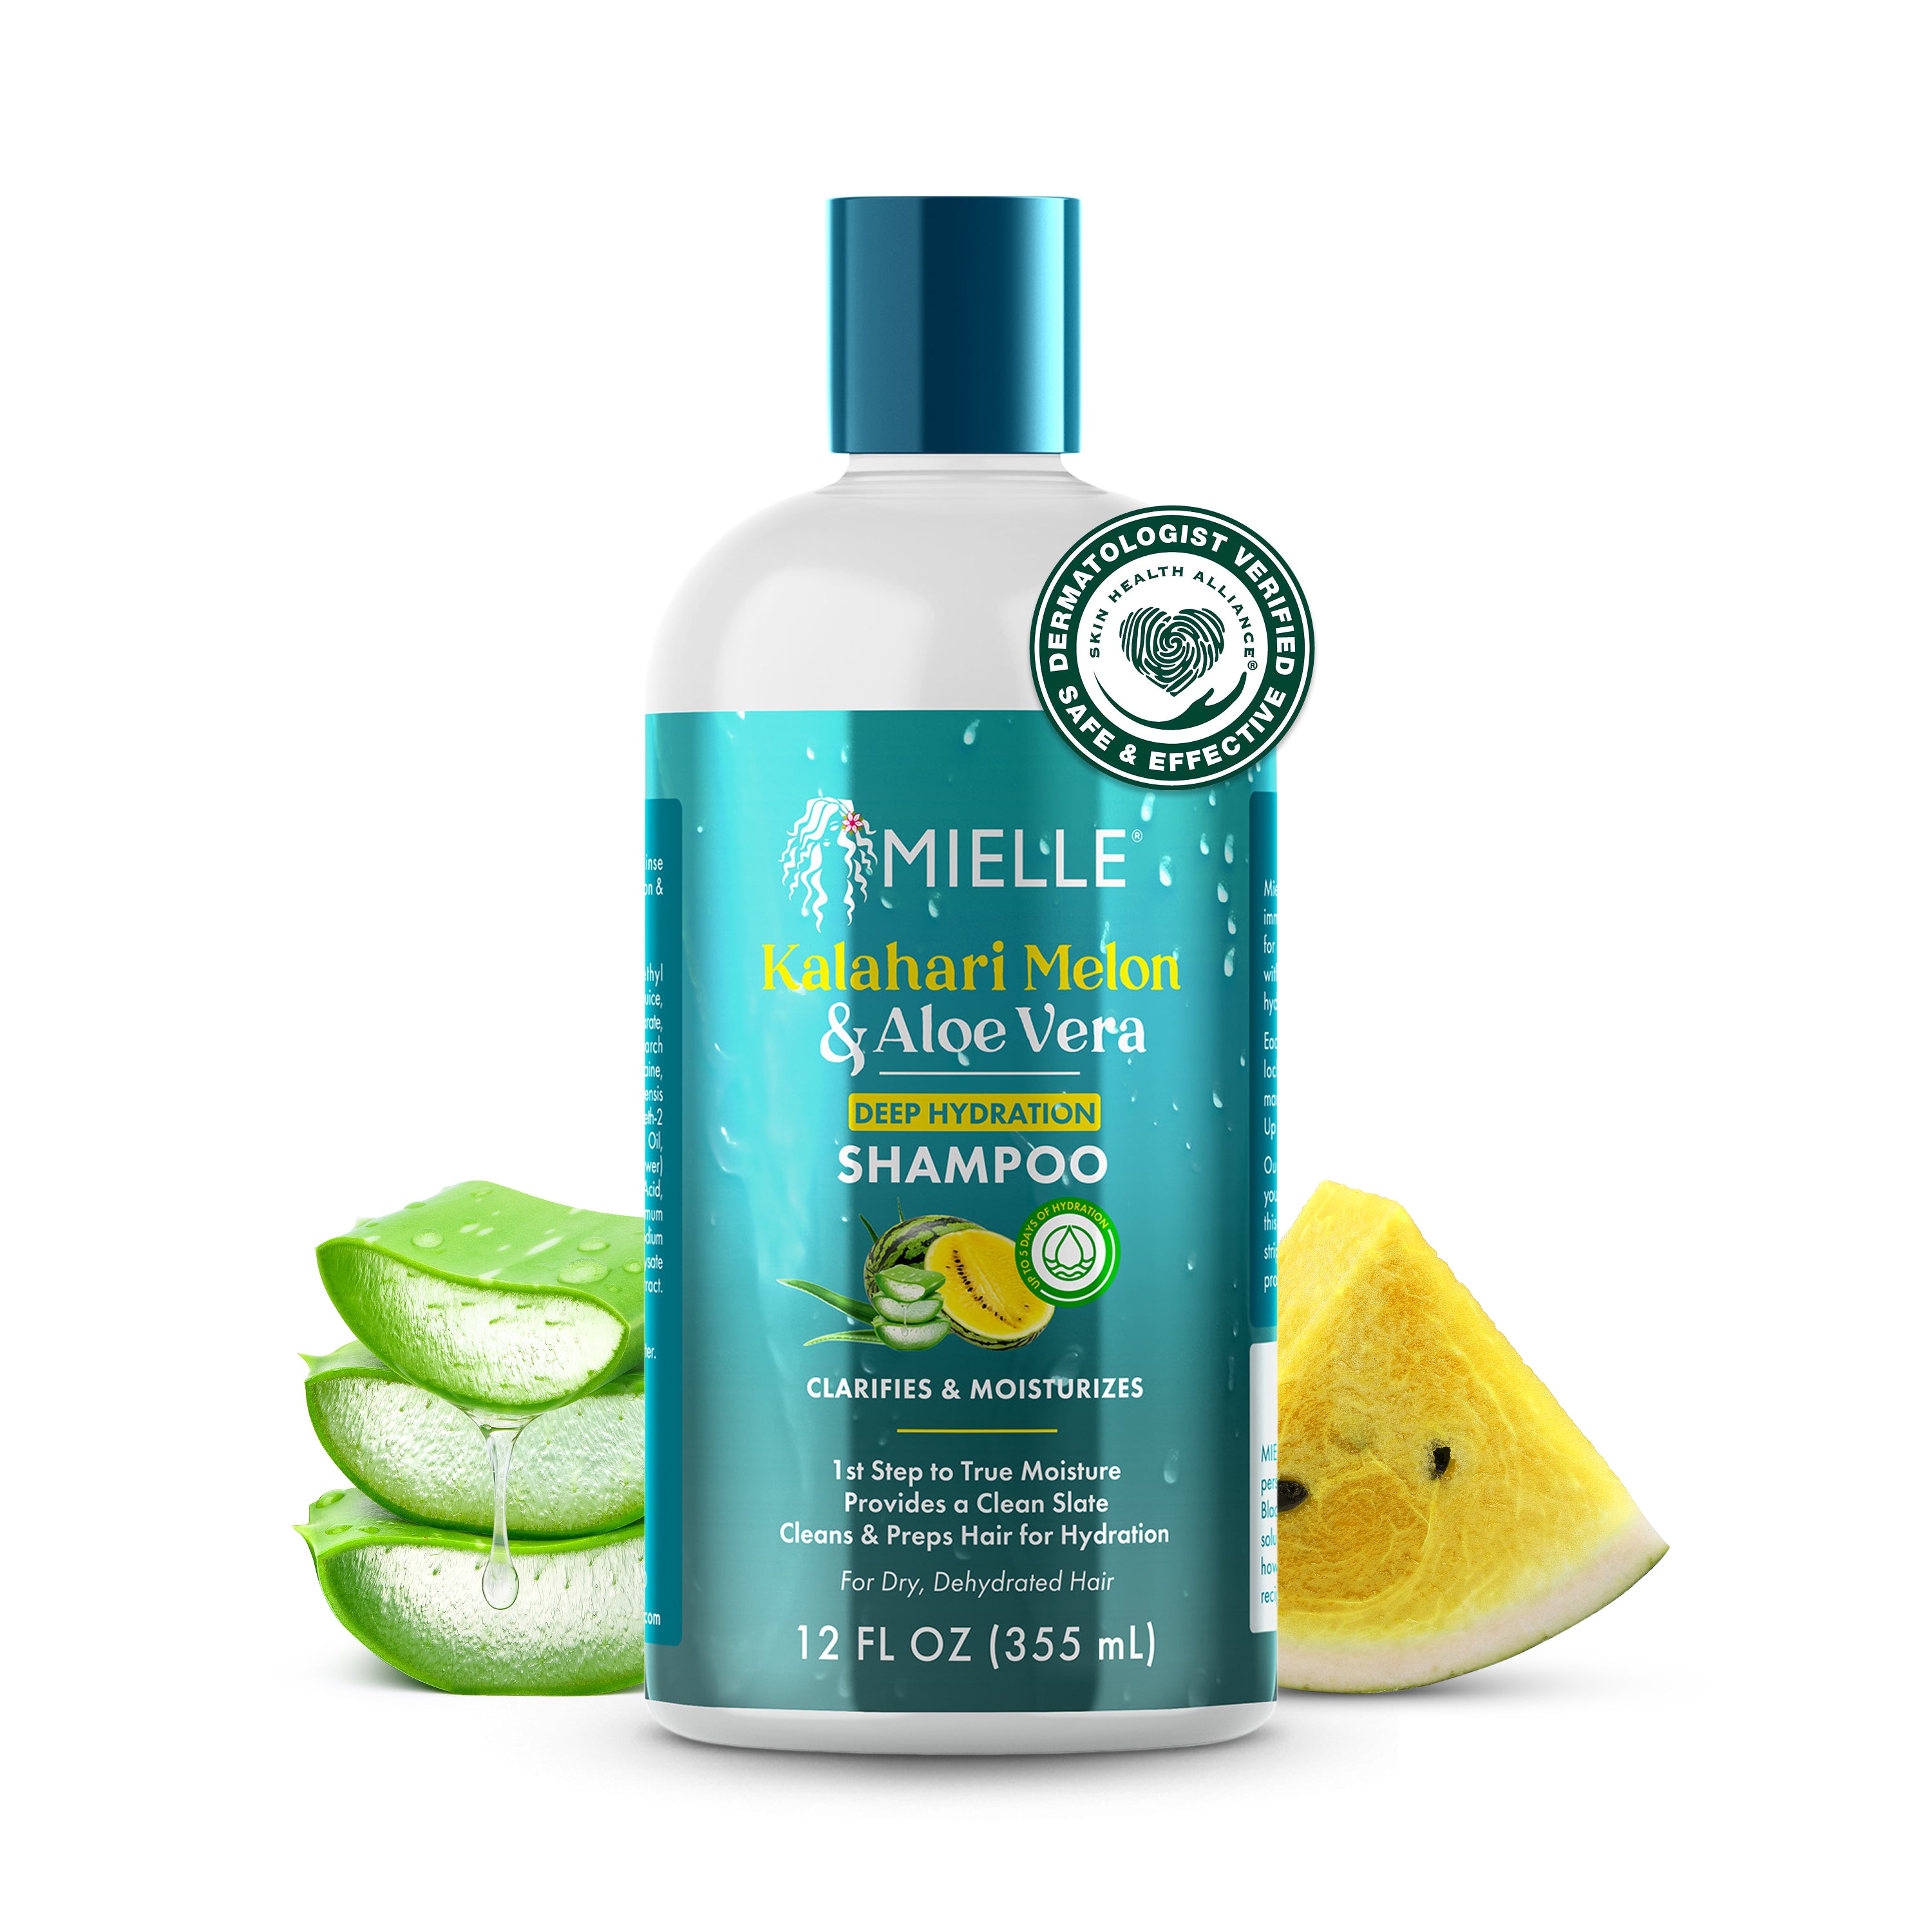
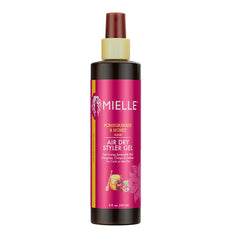
- Use a detangling shampoo like Pomegranate & Honey Moisturizing & Detangling Shampoo to give your hair a boost of much-needed moisture. Work shampoo from roots to tip.
- Section your hair using clips. Apply a moisturizing conditioner to the first section as you detangle the strands with your fingers. Next, use a detangling comb and brush to finish the job.
- Move through your hair, detangling section by section.
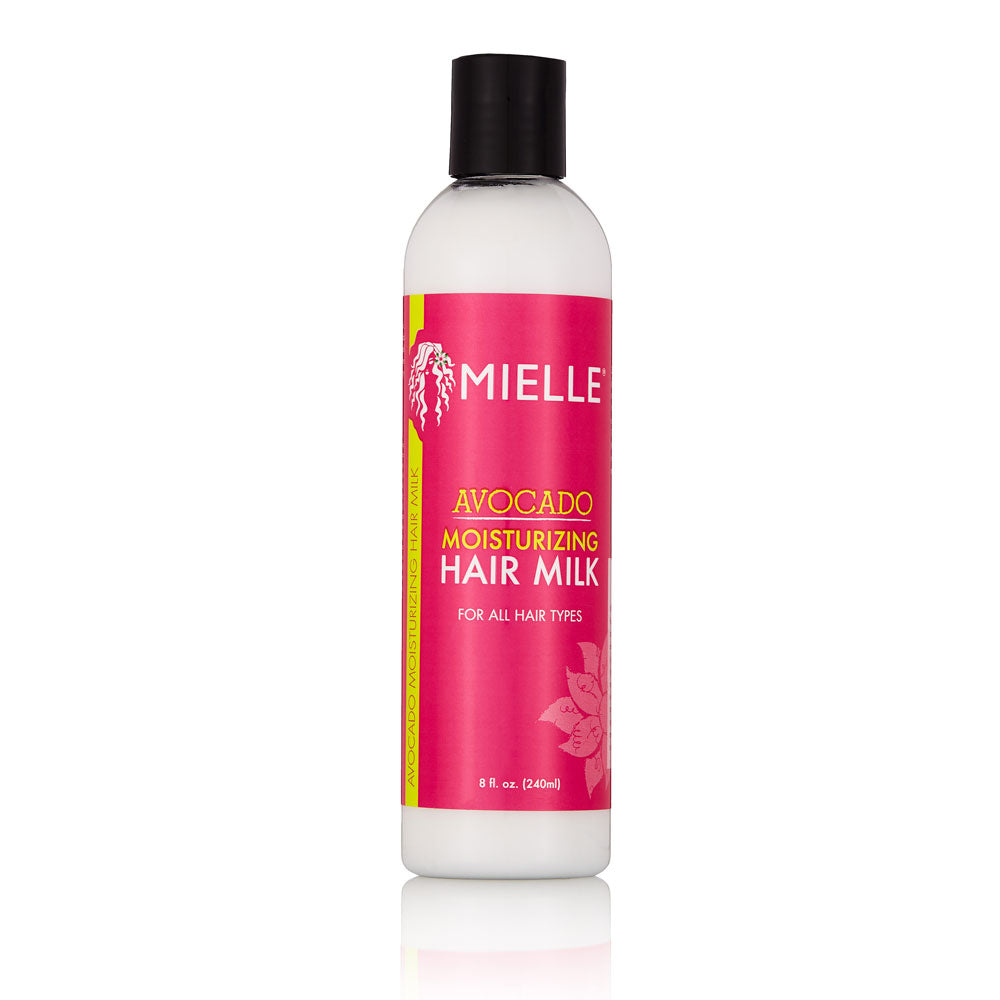
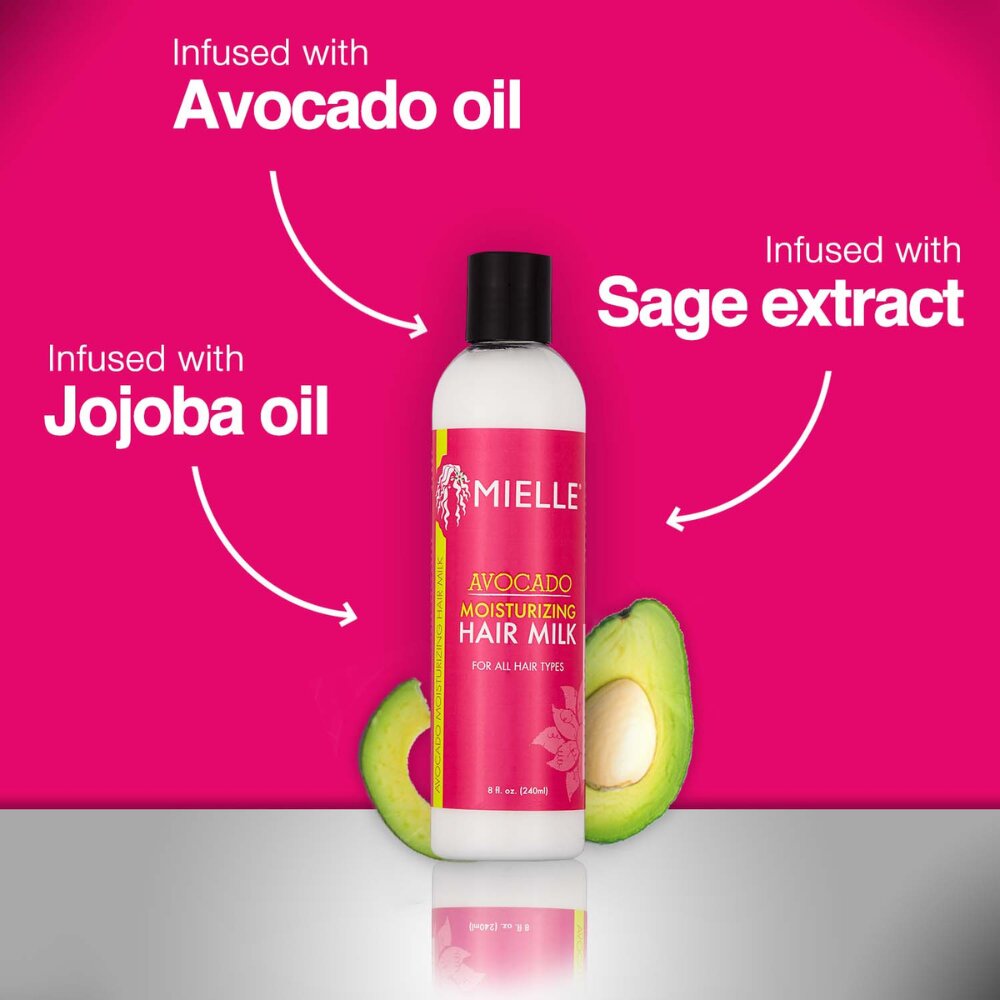
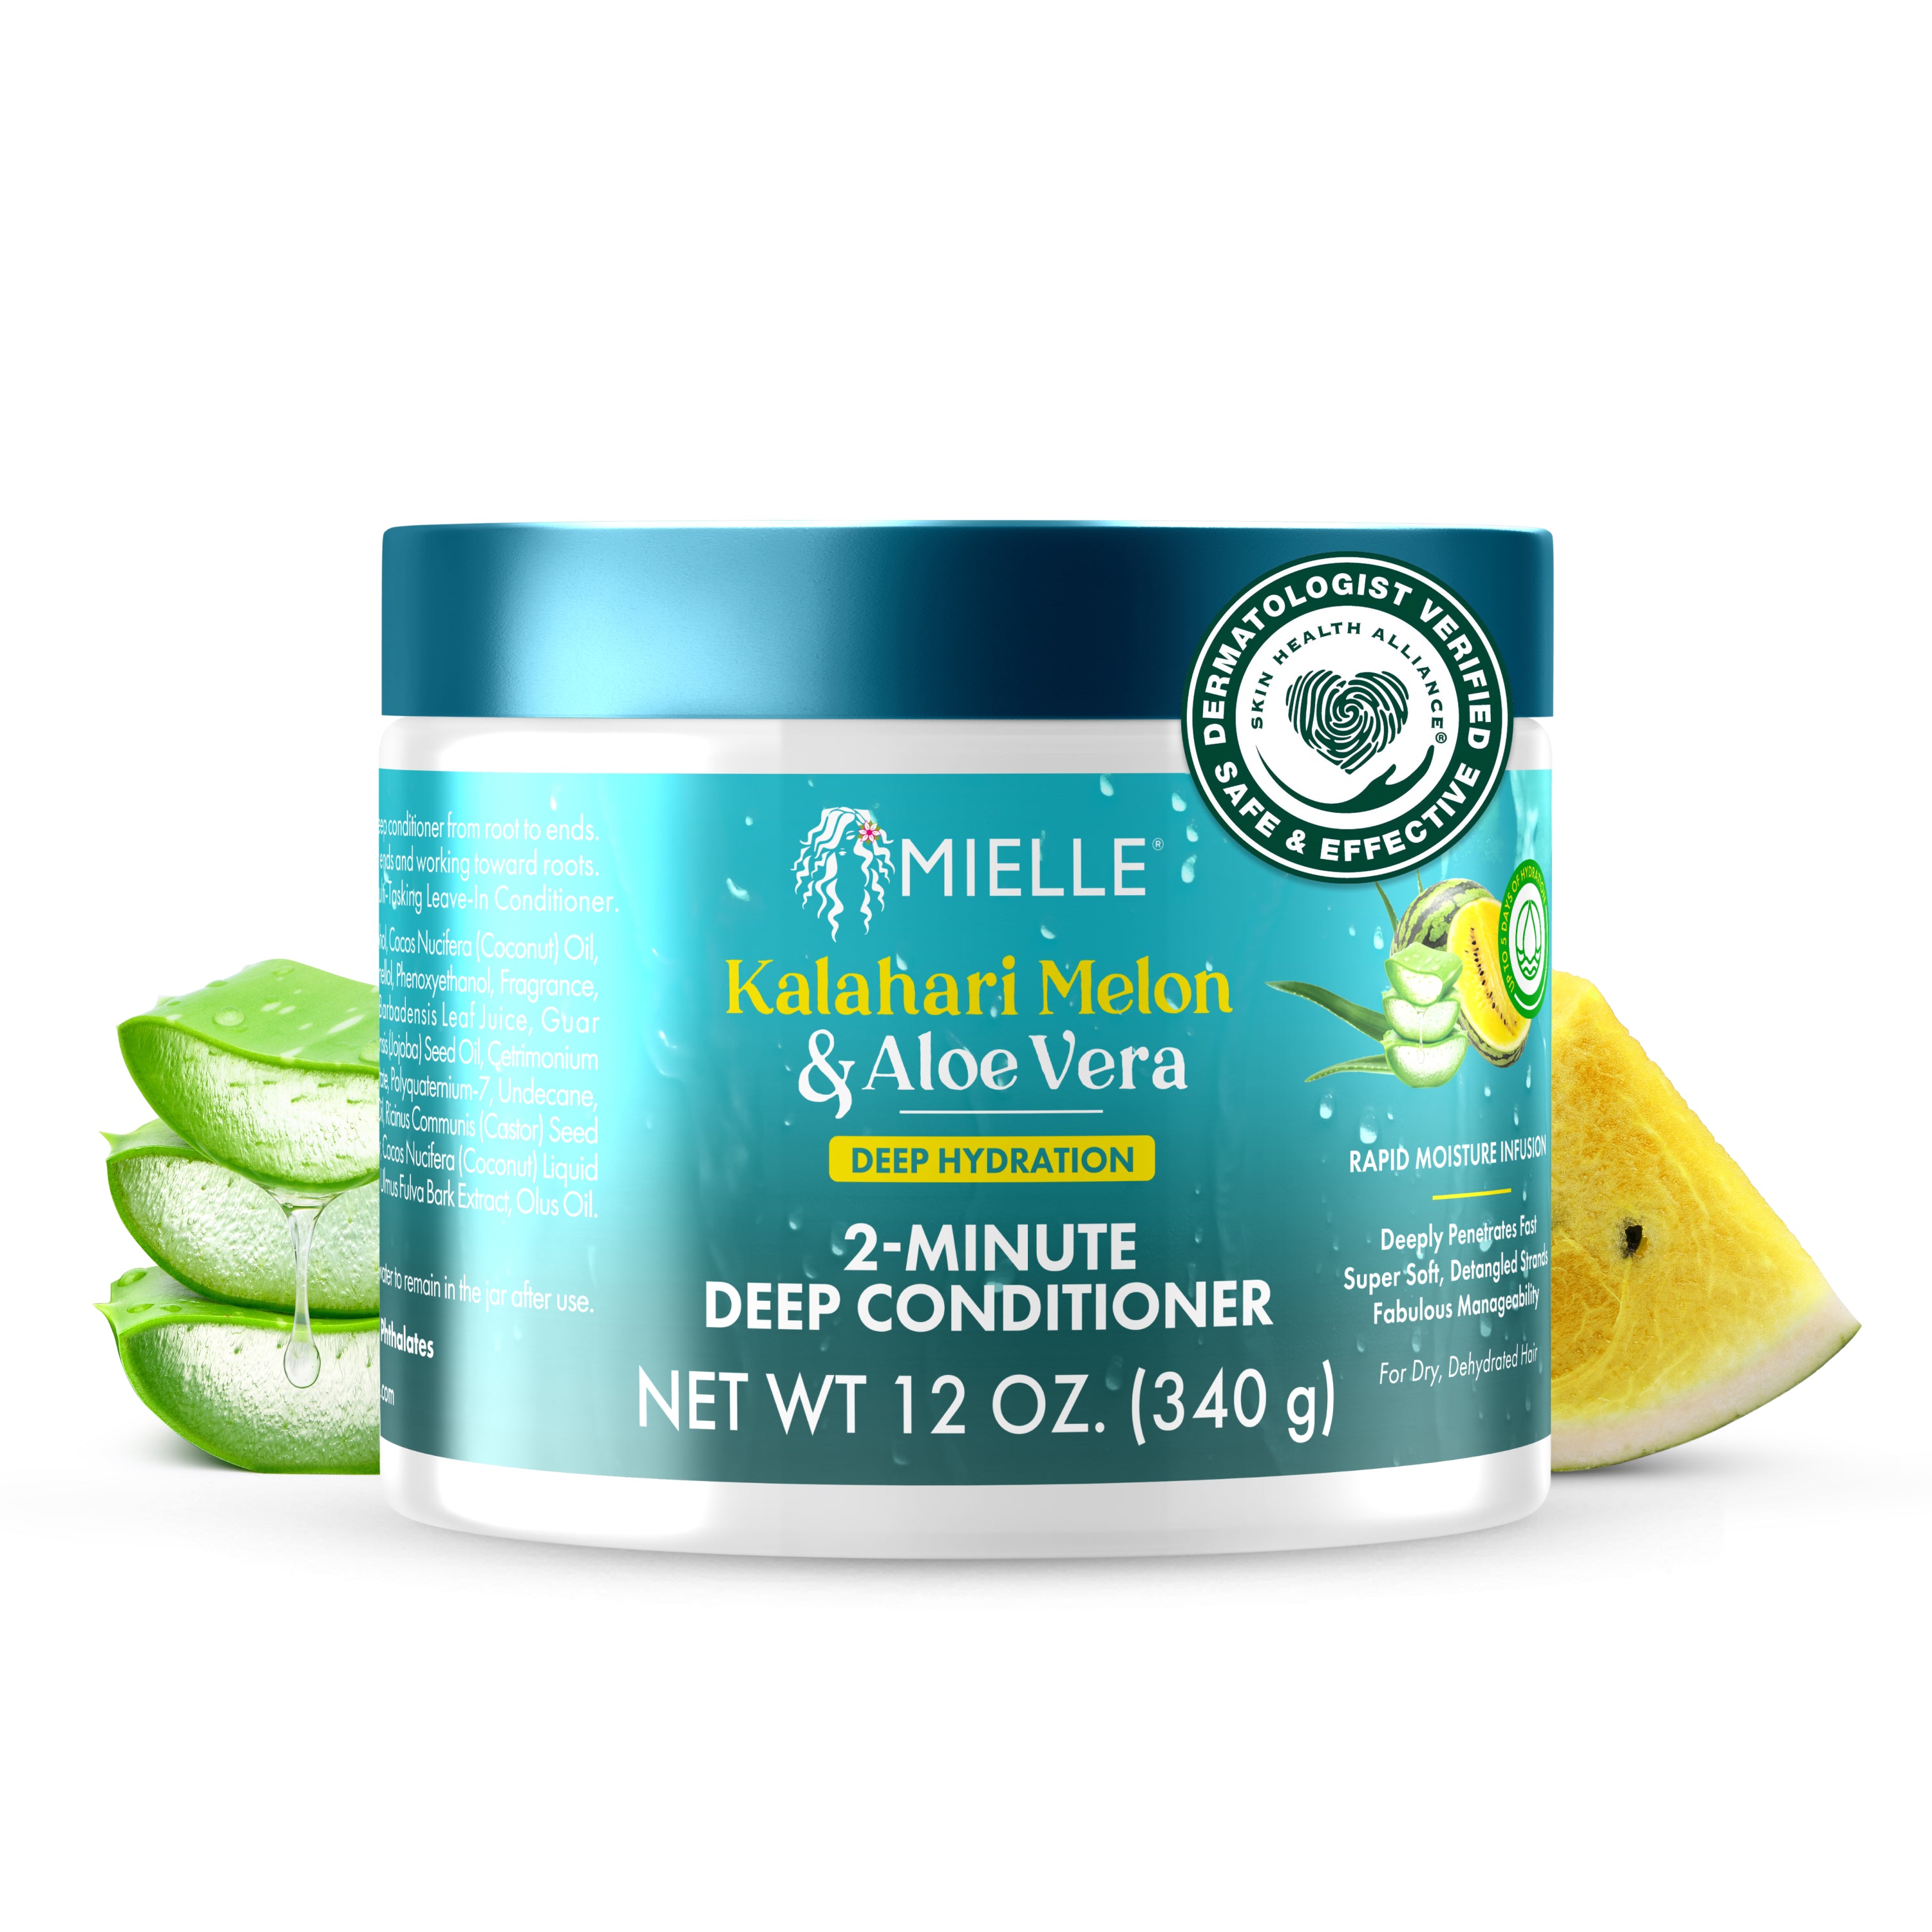
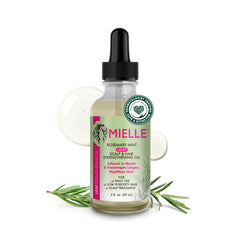
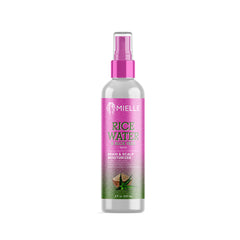
- After finishing your washing routine, add a leave-in conditioner to your hair for an additional layer of moisture as you get started. Find the best moisturizer for curly hair from MIELLE Organics!
Assemble Your Supplies
Once your hair is squeaky-clean (or as close as it’s getting for the foreseeable future), it’s time to collect your coiling supplies.
These include:
- Clips to section your hair
- A spritz bottle filled with water
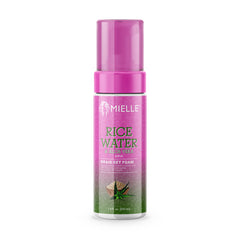
- Coiling custard or your favorite coiling hair product
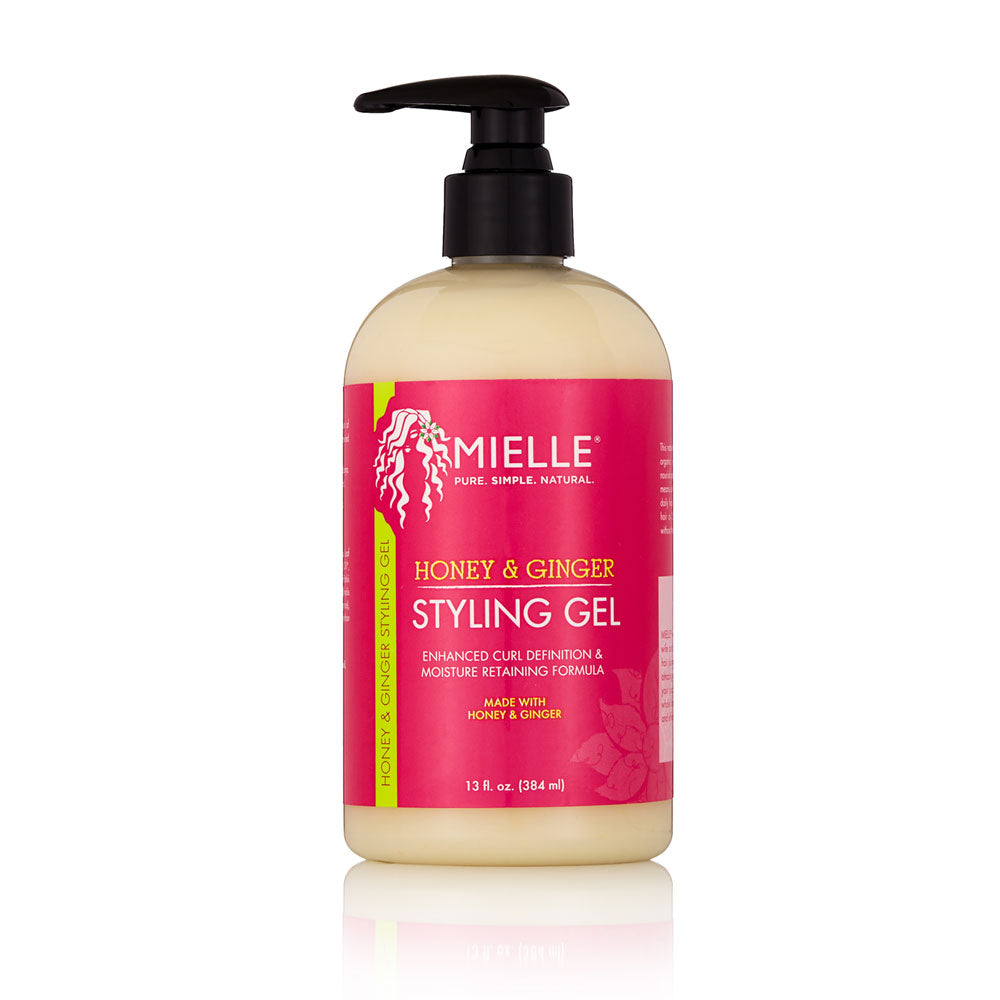
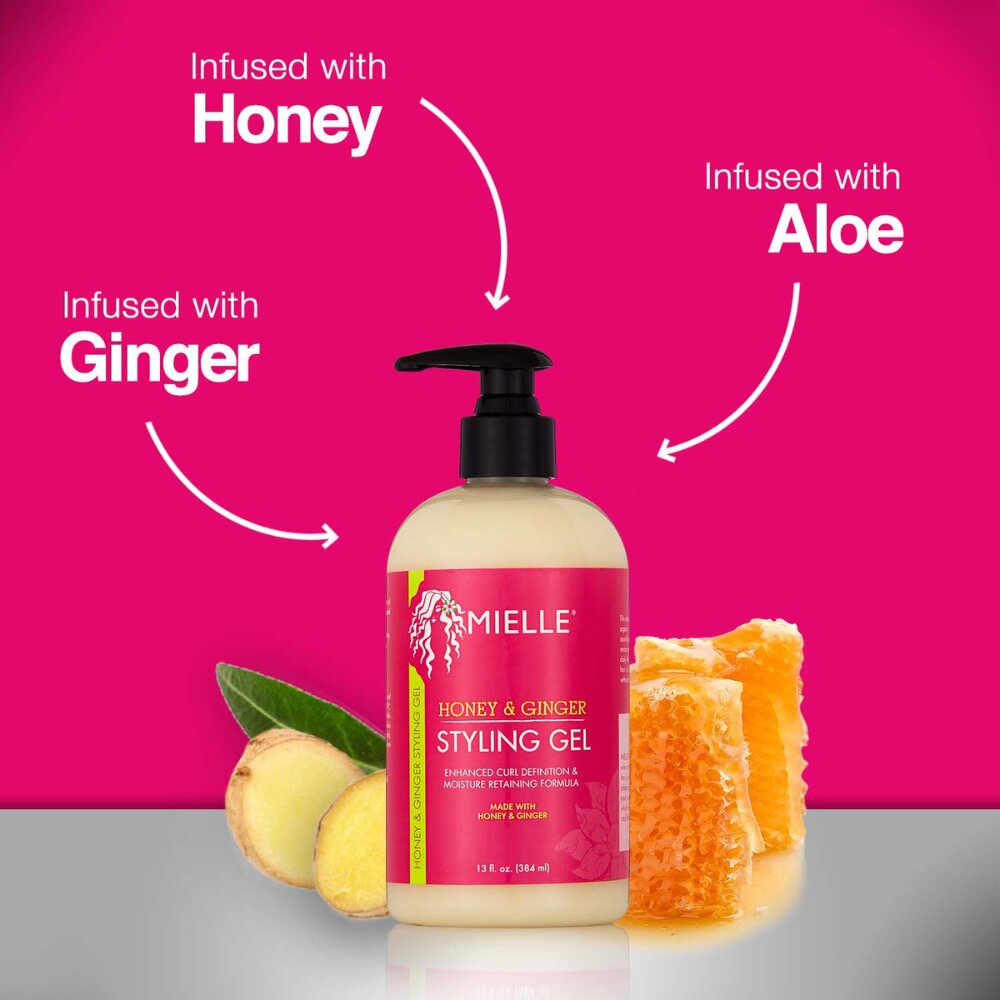
- Gel, oil, or pomade
Ideally, you’ll have wet hair throughout the coiling process. Some ladies also like to use a shower cap or similar plastic wrap to cover the hair that’s waiting to be coiled.
Now you’re ready to coax your hair into coils.
Section Your Hair
Sectioning is the first step in how to get coils in hair. Begin to section your strands using clips. You’ll want to create at least four sections of hair, although you may need more depending on the density and unique text of your hair!
These sections don’t need to be uniform in size. It’s all about getting the hair you’re not coiling out of the way.
For best results, you’ll begin coiling at the section closest to the nape of your neck. That way, you won’t have to risk disrupting already coiled hair by reaching underneath it.
Work Section by Section
You’re ready to begin coiling your hair. For each section, you’ll use a three-step process:
- Detangle – Your hair should already have a great head start on de-tangling thanks to your washing routine. Use your fingers to detangle one more time, adding a spritz of water if extra moisture is needed.
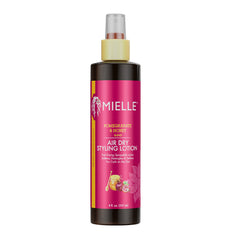
- Add a styling product – Some curly-haired divas swear by oil, while others prefer the aforementioned coiling custard cream. Whatever you’ve chosen, work your favorite product through the section at hand.
- Start coiling – Use your finger to grab a section of hair no bigger than one square inch. For ultra-tight coils, choose an even smaller section of hair, around half a square inch. Use your index finger and thumb to stretch and twist your hair into a coil, starting from the scalp and working towards the end of the hair fibers.
A pro tip? Don’t worry too much about coiling all of your hairs in the same direction. It won’t affect the overall result!
Some ladies opt to clip each individual coil down with a duckbill clip while moving on to the next segment of hair. Alternatively, you can group several coils together with a hair tie. This can provide a tighter, denser coil. However, these steps are completely optional. Your hair should hold its shape either way.
Once you’ve finished coiling the section at the nape of your neck, continue working back to front until your hair is completely coiled.
Dry and Set
The next step is drying your ‘do.
As you’ve likely heard time and time again, high heat is the enemy of natural black hair. Tempting as it can be to style, blow dry, and go, excessive heat can strip your hair of the moisture you’ve worked so hard to impart in your hair-care routine thus far! Discover how to blow dry curly hair to avoid damage.
There are two great options for drying your coils:
- Use a heat hood – Sitting under a hooded dryer set on a low heat can speed up the drying process.
- Dry overnight – Use a satin cap to protect your gestating coils, and wake up in the morning with perfectly coiled hair. Use clips and ties as needed to help coils keep their shape.
Now, with your hair beautifully coiled, all that’s left is to seal in the coil and style.
Seal and Separate
After drying your hair (or sleeping), you’ll have a set of dense coils that lay fairly close to the head. If you’re ready to rock that style, go for it! If needed, style your baby hairs with a product of your choice and start your day.
However, this is also a great opportunity to seal in the style for added hold while separating out the coils for added volume.
Vlogger YoursNaturally11 recommends re-coiling each coil three or four times to reestablish the definition and create more volume. Give each coil a light tug as you go.
At this stage, you can also use oil, pomade, or gel as you go back through your hair to twist and separate each individual coil.
- Oil can help reduce frizz
- Gel can add shine
- Pomade is a great option for both shine and shape
Hydrate and Protect Your Coils
With proper maintenance and care, you should be able to maintain your coils for several days.
If you need to refresh your coils in the morning, spritz your locks with a curl-refreshing spray. You can also use your fingers or a wide-toothed comb to separate coils. Then, use your fingers to twist any coils around your face that need definition.
As you continue to rock your curly tresses, use your bedtime routine to give them an added boost.
- Apply hair oil or your favorite moisturizing product to help avoid frizz
- Loosely wrap your hair in a silk or satin cap
Styling Your Coils
Now that you know how to get coils in your hair, you’re likely excited about rocking several new styles.
Over the next week, all the work you put into getting perfect coils can pay off as you try out other coiled styles. How?
- Pull your coils – If you like to show off your hair’s natural length, you can pull out your coils on days two and three of your hairstyle for a looser, softer look. There are many solutions for how to grow 4c hair, but in the meantime, this is a great temporary trick to achieve a longer look!
- Tease – You can use a pick to tease your hair into a more voluminous style.
- Do an updo – Stretch your coils into an updo, collecting them at the top of your head into a fun bouquet of coils.
Then, when it’s time for your next wash, do it all over again! Or, try out a variety of other 4c natural hairstyles that can be achieved with MIELLE Organics products!
MIELLE Organics: Natural Products for Your Natural Hair
What nourishes your hair?
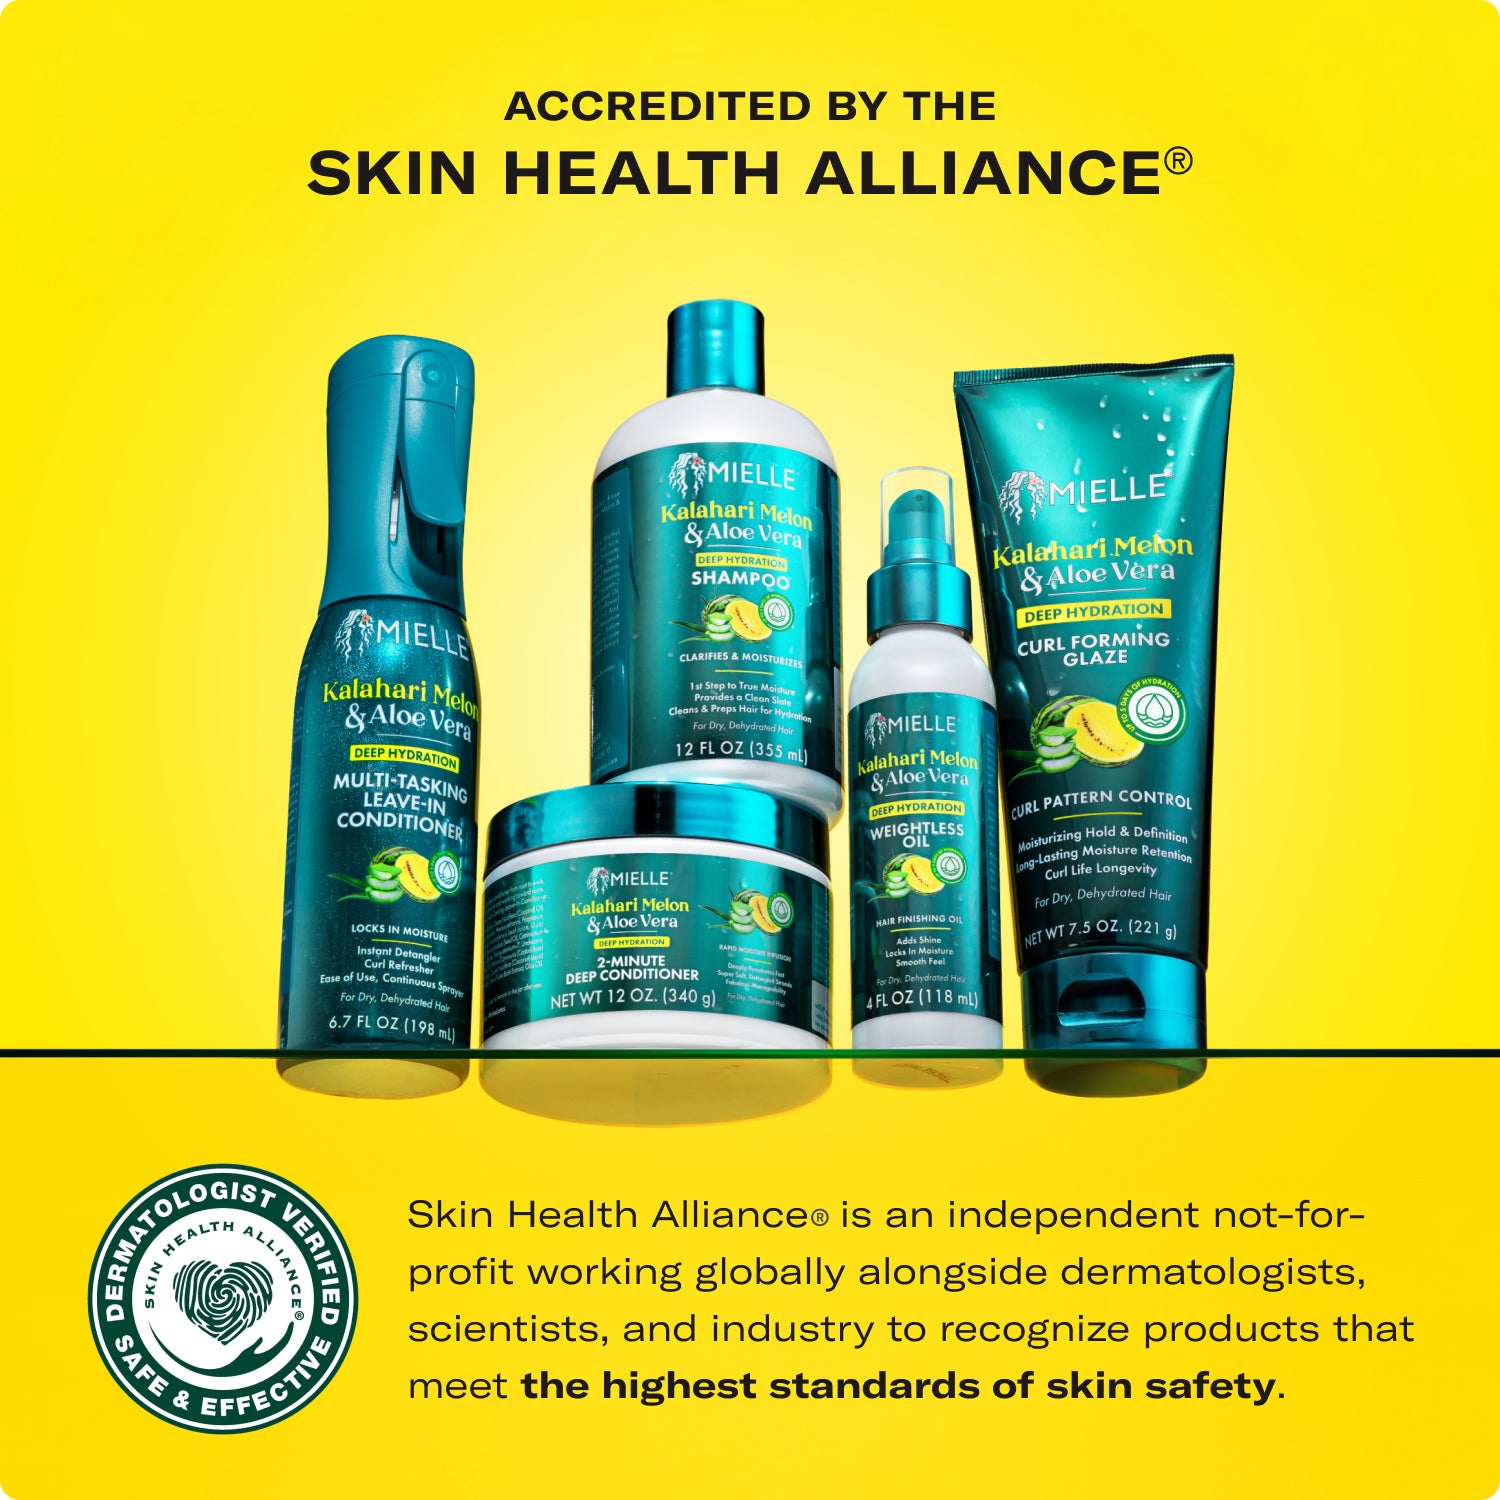
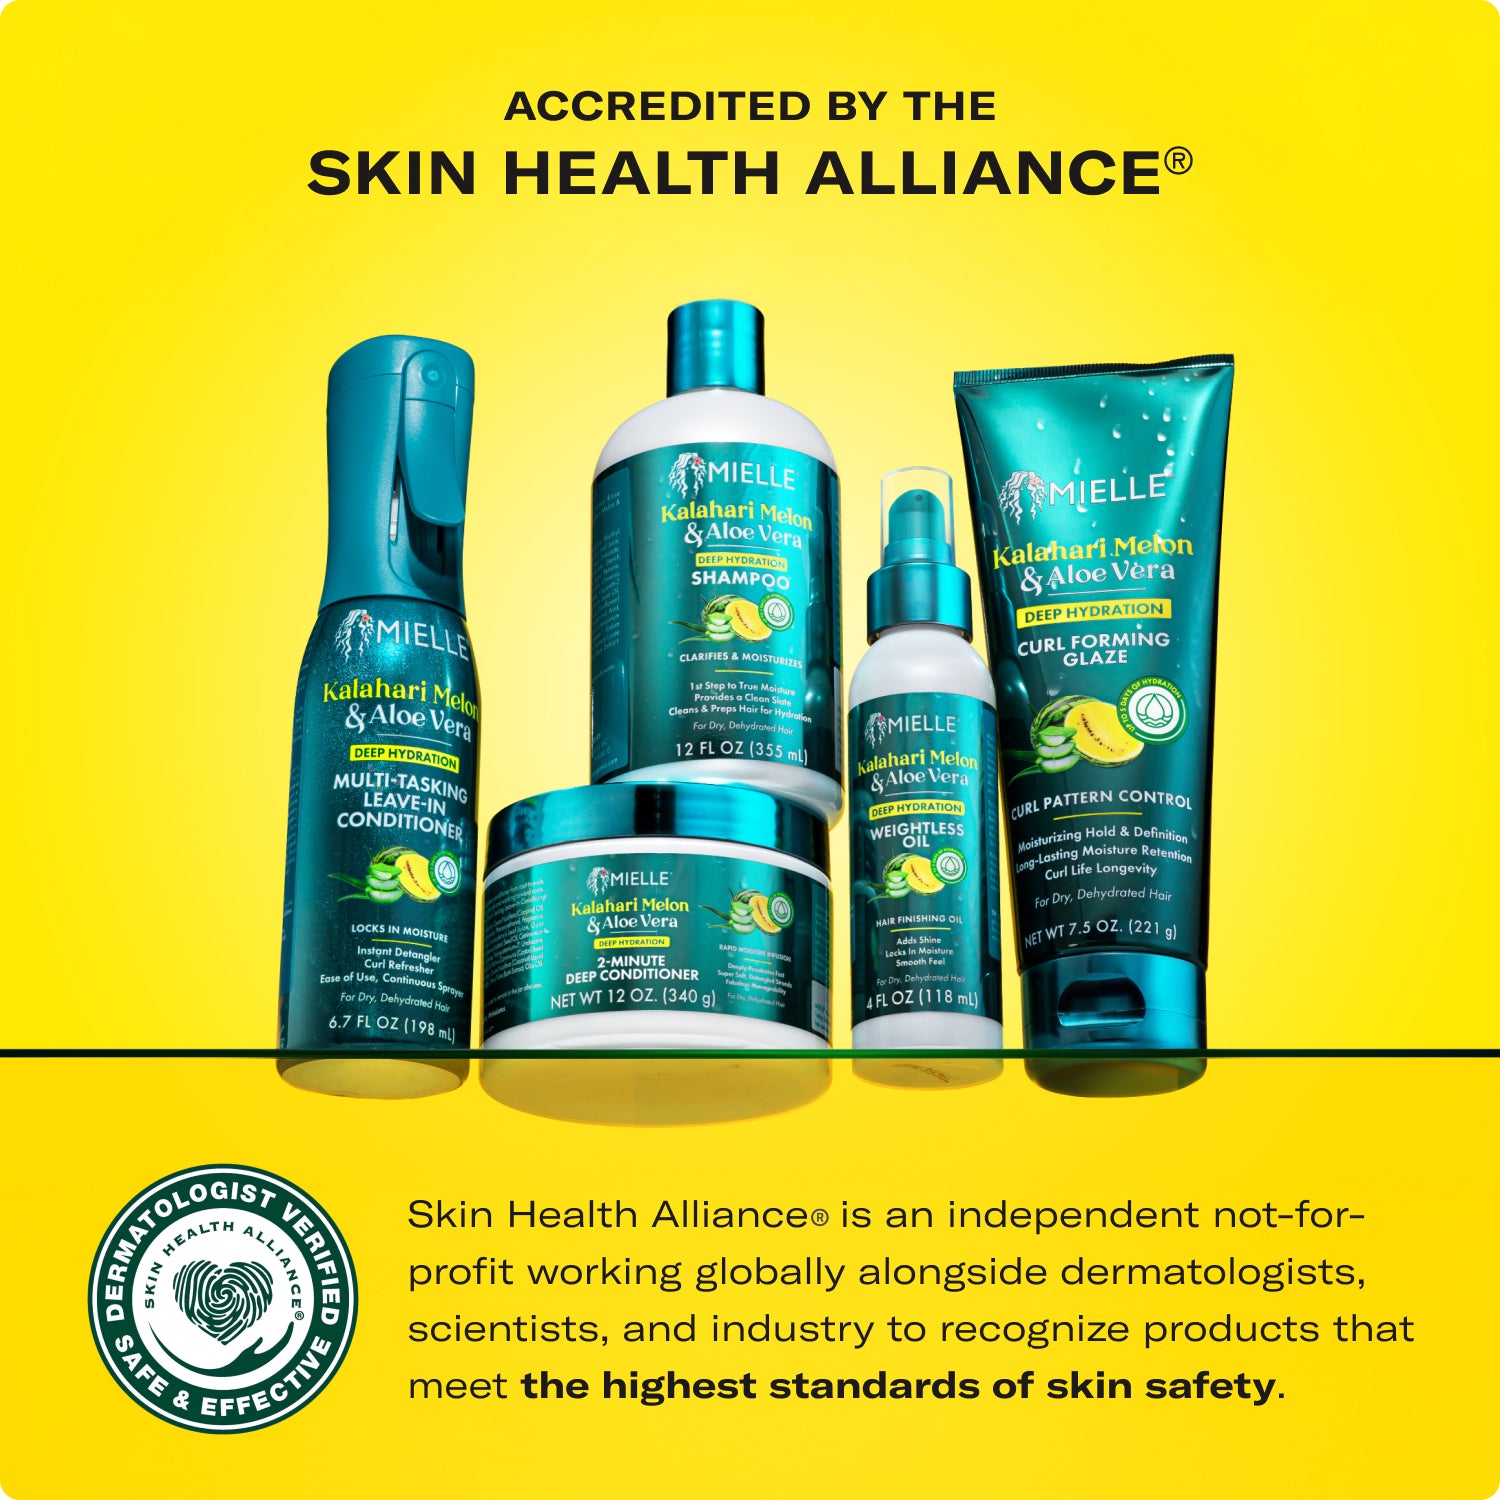
At MIELLE Organics, we’re committed to empowering naturalistas with organic products that fully hydrate their luscious locks. With our specialty product lines for Type 3 and Type 4 hair, it’s never been easier to find the best products for curly frizzy hair that can add moisture and shine to your natural texture.
Shop by hair type or porosity for your full hair care routine, from washing and conditioning to styling and maintaining your coils for days to come.

Sources:
- Cosmopolitan. Finger Coils 2020. https://www.cosmopolitan.com/style-beauty/beauty/a33825081/finger-coils/
- Refinery 29. How to Do Finger Coils. https://www.refinery29.com/en-us/how-to-do-finger-coils
- YoursNaturall11. https://www.youtube.com/channel/UCHHwyQPNsTyUhJDxC6wt1UA
